Now that you've got all your supplies, it's
time to step back and decide how you're going to implement
this glorious plan. I'd recommend lifting the front of the
car via ramps or jackstands and removing the plastic underbody
spoiler so you can see how (little) much room you have to
work with. If you haven't removed your intake resonator (responsible
for 25% of the restriction in the intake system), now would
be a great time to remove it. Instructions as stated in the
WIS: "Undo the screw and unhook the resonator by pressing
it up and slightly outwards." Consider also where you
will install your switch, where you will tap for the +12VDC
needed by the pump, and how you'll route those electrical
lines through the engine bay.
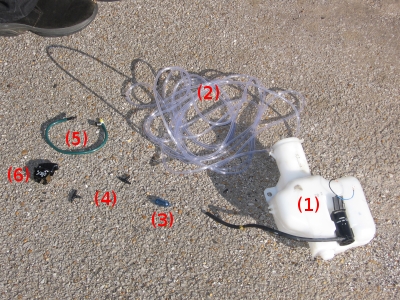
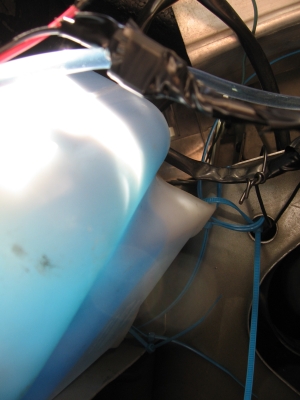 I
installed my tank in the space left by the intake resonator,
using several zipties to secure it (picture to left).
Depending on the style of your tank, you'll have to be creative
in mounting it. Since mine was installed low, I used an extra
length of 1" hose connected to a hole I drilled in the
cap of the tank to make filling easier.
I
installed my tank in the space left by the intake resonator,
using several zipties to secure it (picture to left).
Depending on the style of your tank, you'll have to be creative
in mounting it. Since mine was installed low, I used an extra
length of 1" hose connected to a hole I drilled in the
cap of the tank to make filling easier.
Once your tank is installed, go on and find
a way to get some power to the pump, preferably via your switch.
I tapped the 8-gauge audio power cable between my battery
and my audio amp. You could also try tapping the primary battery
cable, running an auxilliary line to the battery, or even
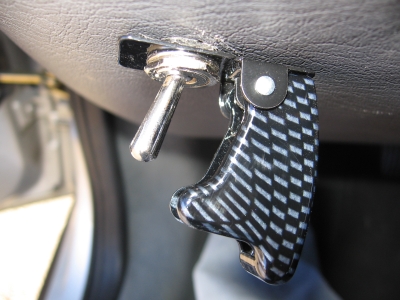
hardwiring in to the fuse box. I installed my fighter-pilot
style toggle switch toward the top of the panel under the
dash. I'm happy with that location - it's easily accessible
but not in the way. From the switch, I ran a wire through
the grommet in the firewall (located above the pedals). This
can be tricky, and taping the wire to a coathanger and then
pushing it through seems to be helpful. Once through the firewall,
run the wire to the + side of the pump (it should be labeled
- if not, experiment and see which terminal will make the
motor spin the right way). I used zipties along the strut
bar to secure wire. Then run a wire from the - side to the
electrical chassis ground next to the stock airbox. It might
be kinda hard to get to, so you can make your own chassis
ground! Just pick another Torx screw and put a loop of exposed
wire under it. Now your pump should work when you flip the
toggle.
(click images below to
pop up a larger size in a new window)

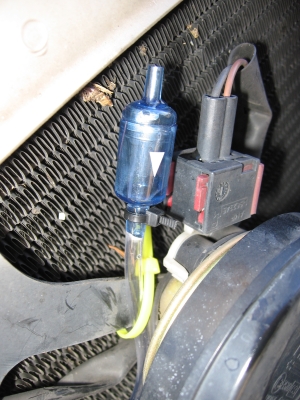
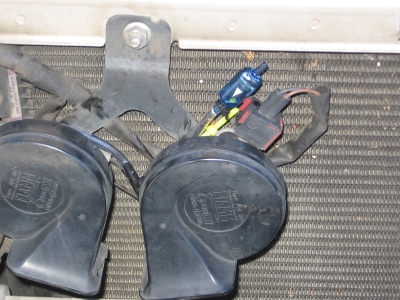
Run your hose next. You'll need to get it
from the tank to a spot near the intercooler. In order to
prevent a siphon effect from draining your tank completely
each time you spray, run the line upward to a point above
the washer tank. Use a T-fitting to run a short length of
line to the check valve. Make sure the valve is installed
so that air can flow into it but not out. If your valve is
labeled with an airflow arrow, it needs to be pointed toward
the T-fitting. I installed the siphon break behind the grill
by running the hose above the two horns.
(click images below to
pop up a larger size in a new window)
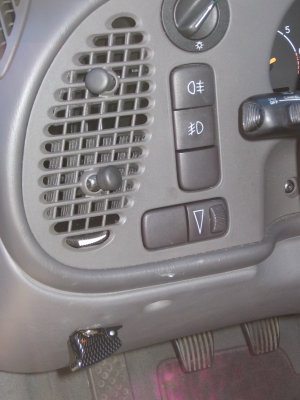
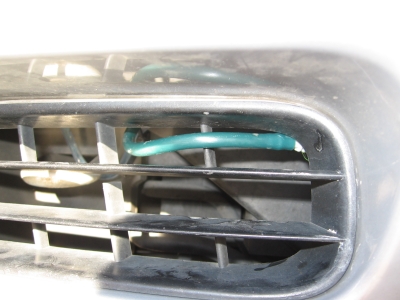
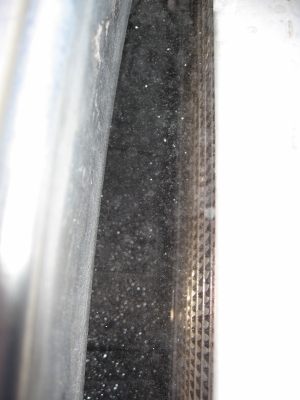
From there, bring the hose back down to
a position where it can spray the IC. Finding places to ziptie
the hose in position can be tricky. The sprinkler I used had
about 6 inches of stiff hose before the adjustable nozzle
at the end. I used this stiffness to my advantage, and used
the vented panel next to the foglights to help hold it in
place. I adjusted the nozzle for a decent mist, and angled
it so it could spray the entire length of the IC from the
side.
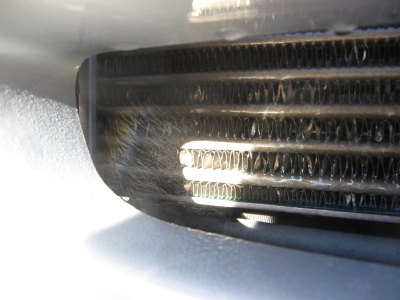
And now, I have a moderately effective
IC spraying system. Using my ScanGauge OBD-II reader, I've
observed that intake temps during hard runs are about 3 degrees
lower with spray than without. After hard runs, I've also
seen that the intake temps return to a normal range more quickly
if I sprayed before the run. And this is from observations
in the winter - I think the sprayer will make even more dramatic
improvements in the heat of the summer.
(click images below to
pop up a larger size in a new window)
I haven't made any comparisons of different
fluids yet, but obviously an alcohol solution would be ideal
- the low boiling point (and extremely low freezing point)
make it perfect for evaporating heat away from the IC without
freezing in cold weather. Also, alcohol would prevent the
development of algae in the lines. Washer fluid works well
too - and they contain a small ammount of methanol alcohol
that will also evaporate more quickly than water.

 Complete parts list: